How to shoot great photos of drinks (it helps to start with great drinks)
Drinks photographer Christopher Pearce and World Class Bartender of the Year Eduardo Conde swap notes.

MADE POSSIBLE BY DON JULIO

Did you know? One Margarita could send you to Mexico and to the home of Don Julio. Click here to find out more and for the full T&Cs, or contact Kate McGraw on kate@sweetandchilli.com.au.
We live in visual times — more so than ever before. Everyone is a photographer — of sorts — today, with a camera in their pockets, and so much of how we find what we want to drink or eat is found through pictures on social media.
But when you spend every spare moment with your head glued to a phone screen, how do you take photos of drinks that stop thumbs from scrolling and scrolling and scrolling?
If you’re a creative bartender, you’ll be pleased. World Class Australia winner Eduardo Conde talked to one of Australia’s best drinks photographers and sometime Boothby contributor, Christopher Pearce, to talk creativity, cocktails, and how to get the best photo of your new cocktail creation.
You can watch those conversations in the videos here, and get their best tips below.
“First you gotta get your drink right.”
Before you think about lighting, before you think about cameras or the global social media acclaim you’re destined to receive with this photo of your cocktail, Chris says you want the drink perfect first. “[It] has to look cold, delicious,” he says.
Resist the urge to create a dummy cocktail for your photoshoot; instead, both Chris and Eduardo recommend making the drink as you’d serve it across the bar.
“I always try to make sure that the drink that I make, it looks amazing in the photo, and it looks amazing in real life,” Eduardo says.
“The easy way to do it is to do it right the first time,” says Chris.
Do you need the newest camera or smartphone?
”You can take a better photo on a better camera,” Chris says.
But - and this is a big but — if you don’t know how to use it, or you don’t understand some photography basics, your photos will still suck.
Get lit
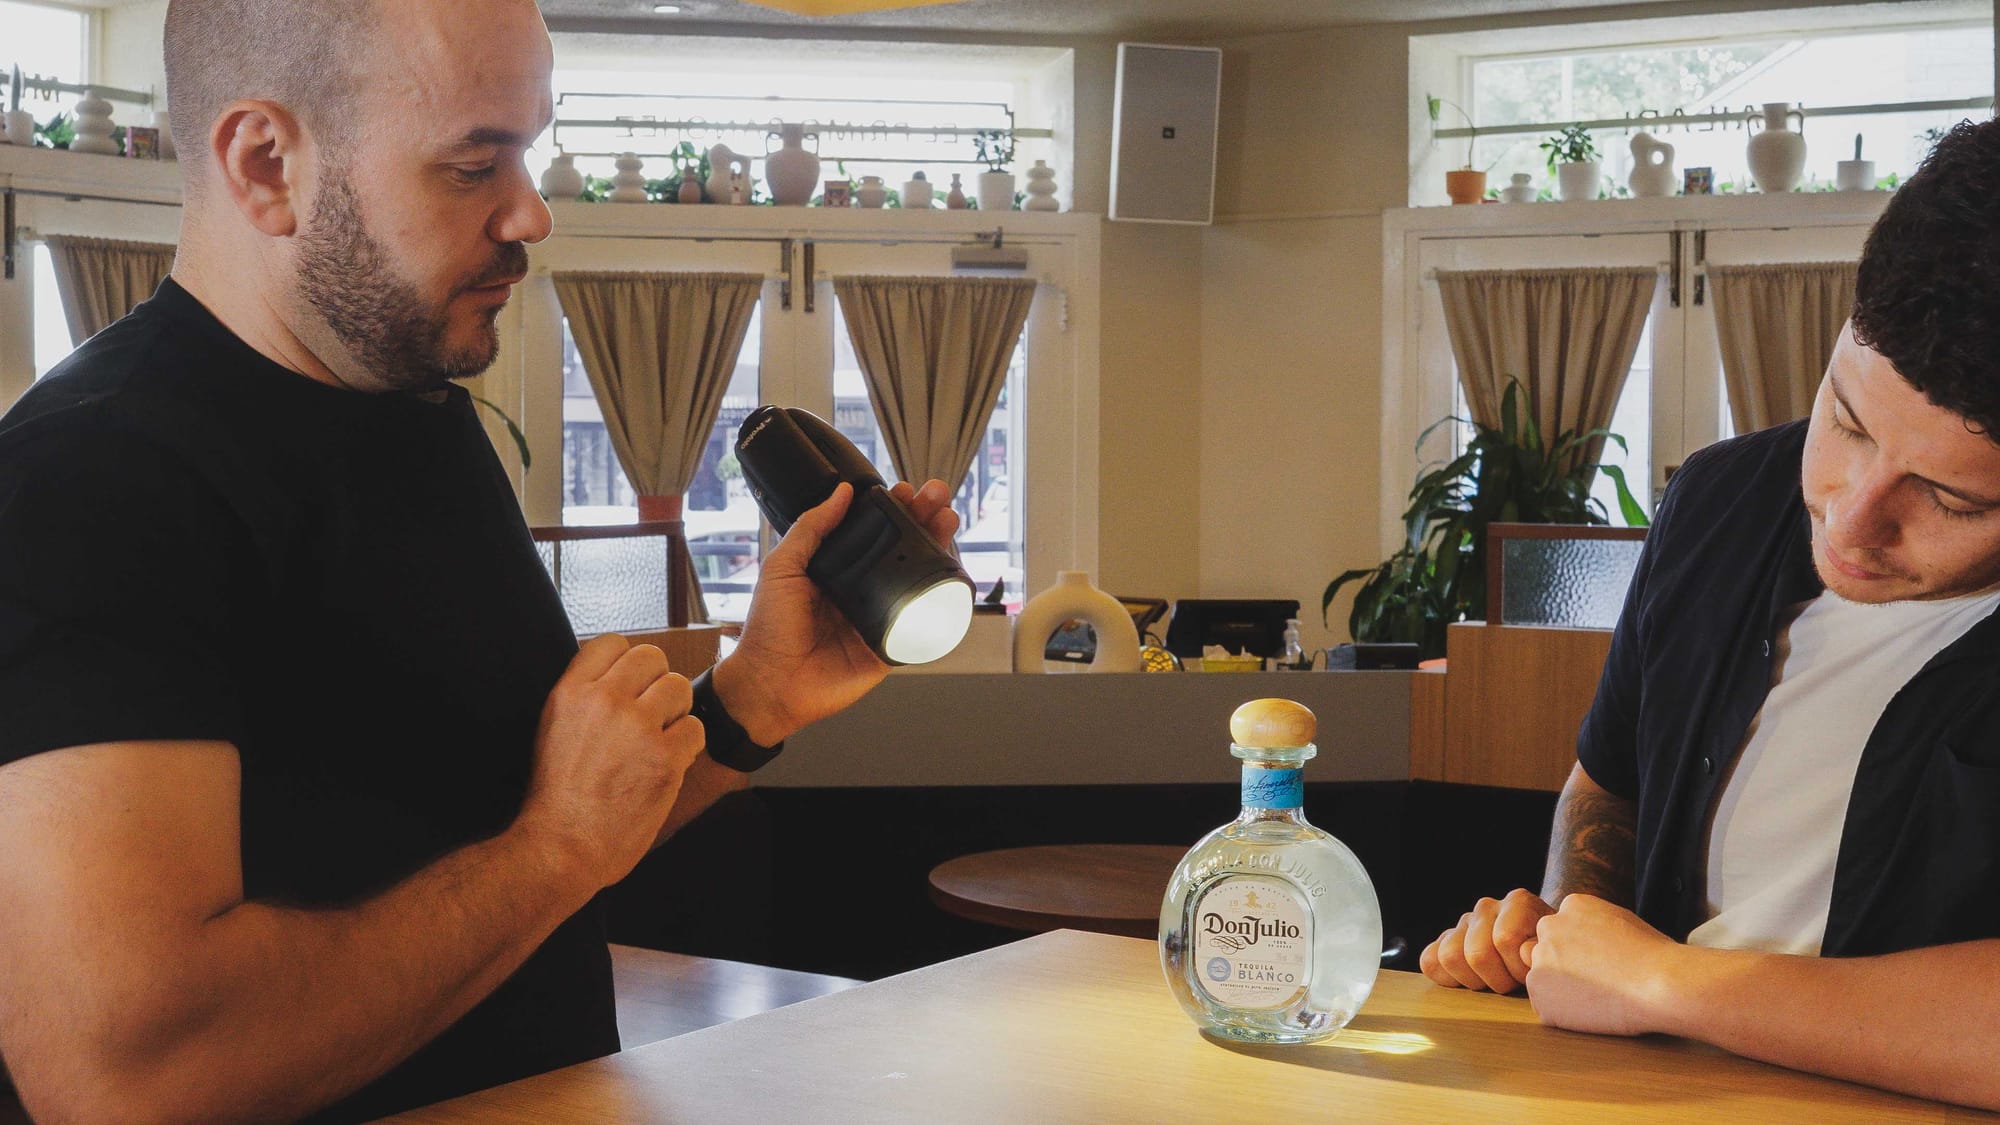
“All I’m doing is just shining light through the bottle. But what that is doing, is it creates form,” Chris says, as he manoeuvres a small directional light around the bottle of Don Julio Blanco as they talk.
Photographers know that it’s all about light. Put simply, Chris says that “without light, you can’t see anything, so there’s no photos. That’s where you start.”
It’s through the use of light — whether it’s a professional light like Chris uses, or natural light from a window — that you start making an interesting picture.
“It makes your object go almost from 2D to 3D, in a 2D space,” Chris says.
He advocates playing with light, moving it around the subject in the frame.
“You can do it by putting a table next to the window, and have the light coming from behind or across or in front — it’s up to you. Practice makes perfect and there’s no real wrong or right way to do it.”
Check out the videos to watch as Chris walks Eduardo through the process.

Experiment with light
It’s important to stress this point — the only way you’ll get better at playing with light is to experiment, as Chris does as he talks to Eduardo.
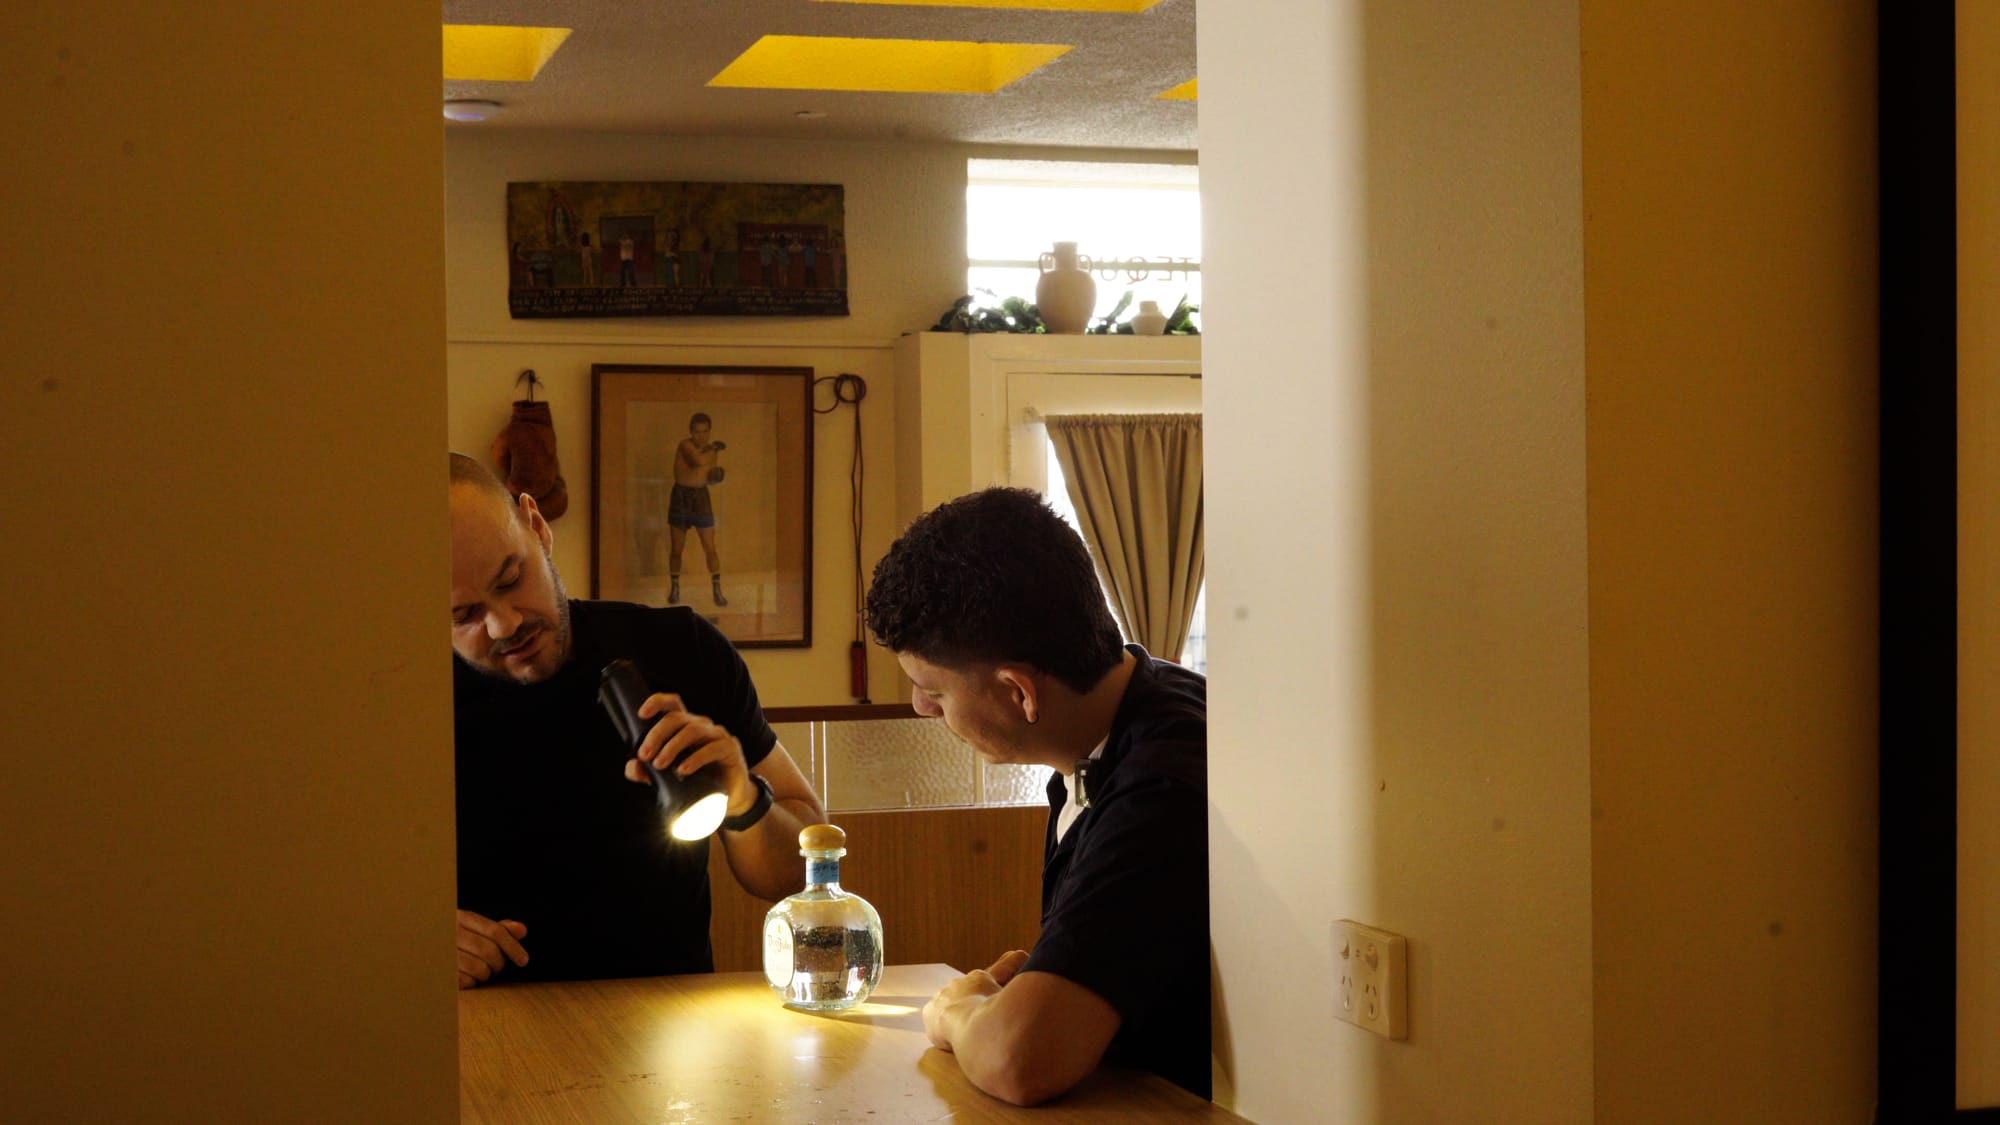
“You can move [your light source] anywhere you want,” Chris says. “You can put the light from behind — you wouldn’t see the beautiful label, but you’d see a nice silhouette of the bottle. And then if you had the drink next to it, the light from behind, you’d see all the bubbles and the ice [in the drink] because it’s transparent.
“And if you come from the side, then you get the best of both worlds. You get a bit of glowing of the glass, then you get a bit of what’s on the front as well, you have a label or something you wanna show — [like] a garnish or something.”
Keep it simple, stupid
“Someone said to me when I was younger, simple is always better,” says Chris. “But it’s very hard to do simple well.”
Keeping it simple means not getting tempted to throw every trick you’ ever learned at one project, whether that’s creating a drink or taking a photo. You don’t want to throw every idea and multiple flavours at one drink, nor should you overcomplicate things when you’re learning to take great photos.
Shooting shapes
You’ve lit your drink, now you need to compose your frame. For this, it’s best to think in terms of shapes, says Chris.
“Most people shoot on their phone, right?” he says. “So what does a picture on a phone look like? It’s a square or a rectangle.” This is the first shape you are working with — then it's time to position the other shapes within that frame in a way that draws the eye. Positioning a drink — a circle, if you will — at the edge of a table jutting into the frame, will see a circle at the end of a triangle, within the square frame. It all helps to draw the eye to the subject of the photo, which is the drink.
Then add in colour contrasts
Once you’ve got your light, and you’ve got the shapes within your frame, another way to add extra dimension to your photos is to work in colour contrasts. A light coloured drink against the colour of the table and the dark background of the floor, for instance.
“That’s the thing with the human eye — people’s eyes will naturally be attracted to that photo because you’ve got different aspects of design in it.”
Contrast and colour saturation
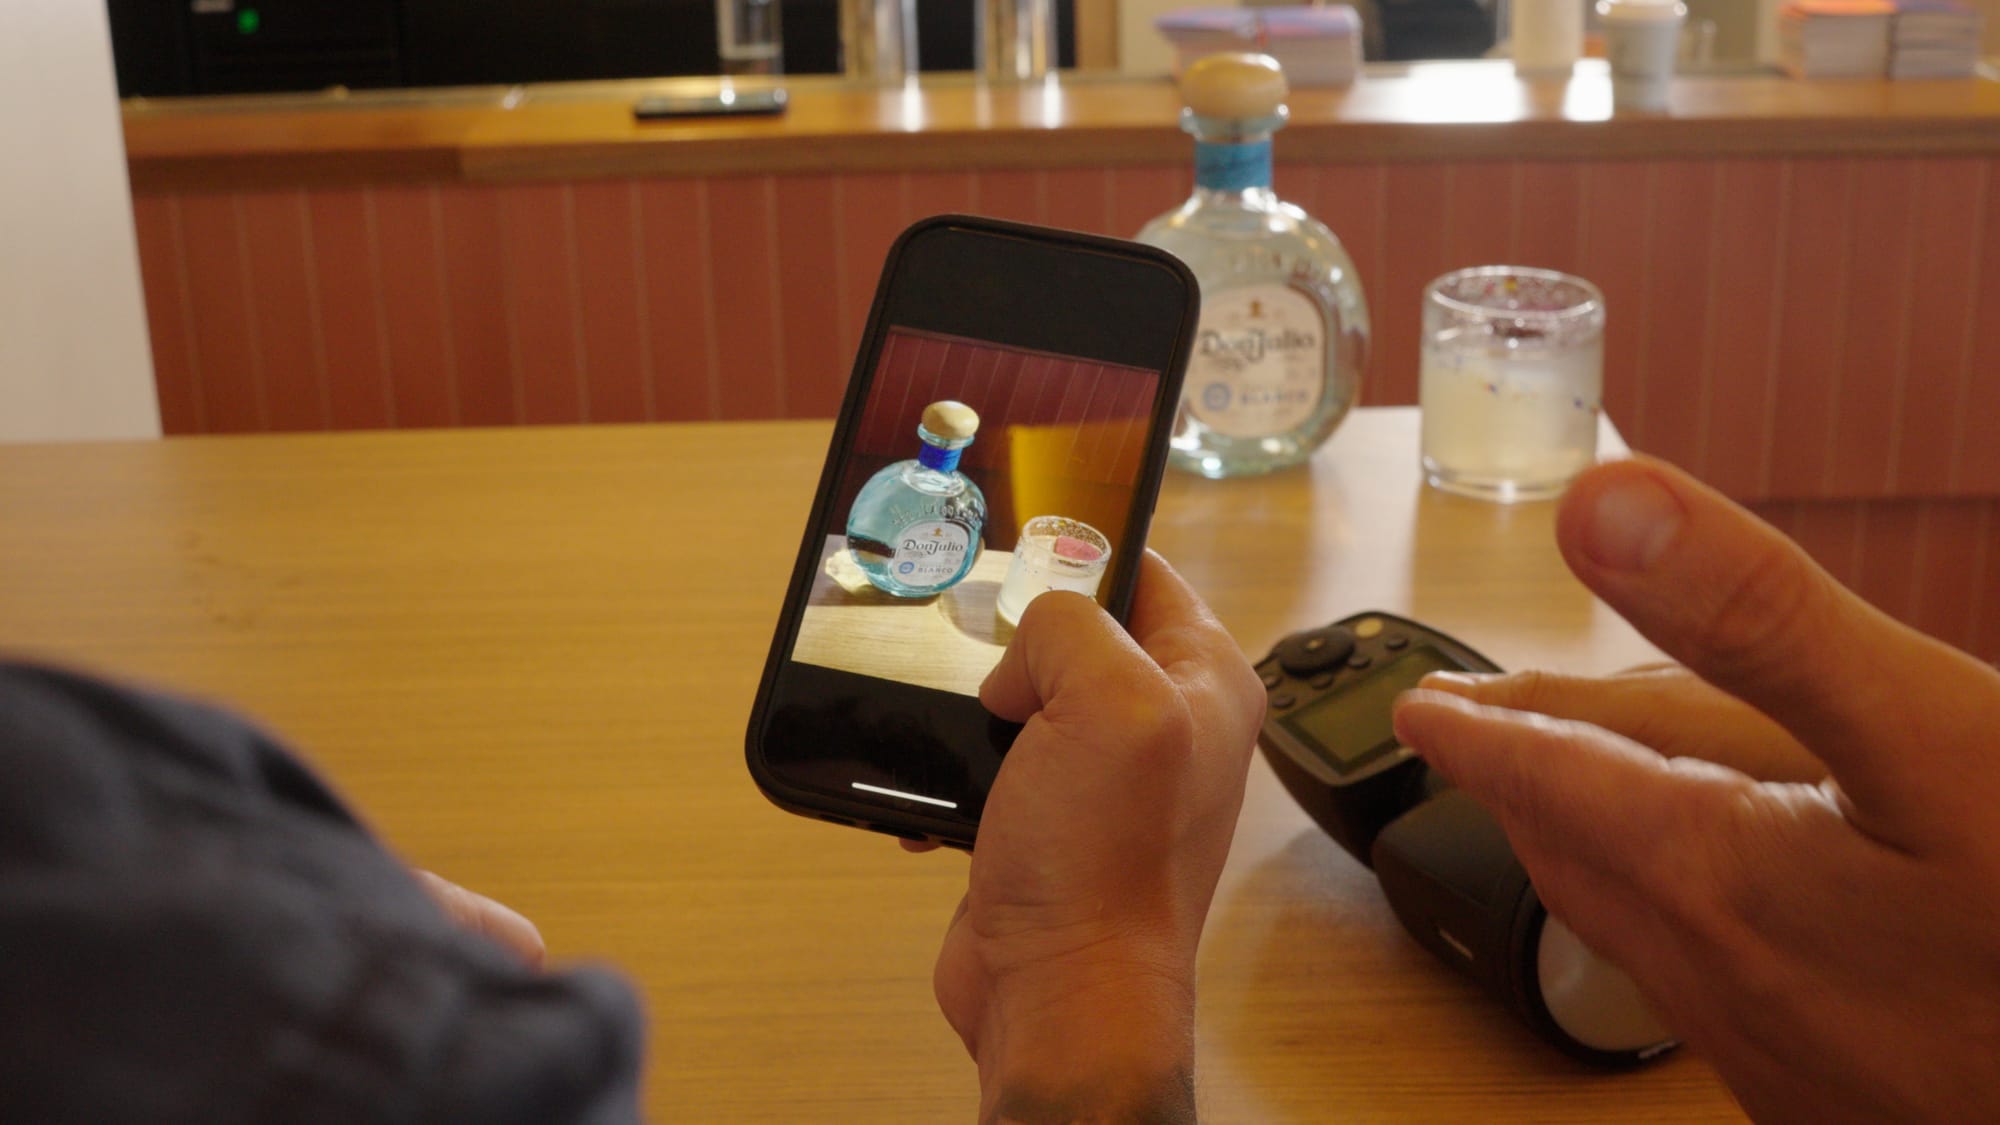
“Food and especially drinks love contrast,” says Chris, as he helps Eduardo edit a photo on his phone. The contrast in an image is the range from bright to dark — a high-contrast image will have darker shadows and brighter highlights.
These shots also love colour, so Chris advises increasing the colour saturation in your phone photo editing app of choice. Dial up the saturation all the way and then bring it back to find the perfect level, where the colour pops but doesn’t look strange or distorted.


